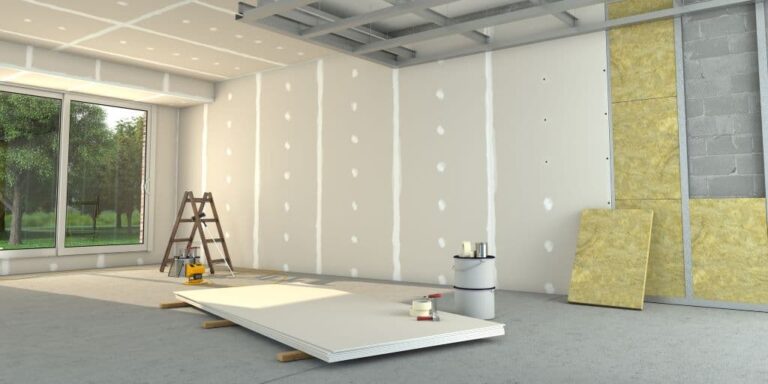
Best Tools for Drywall Installation
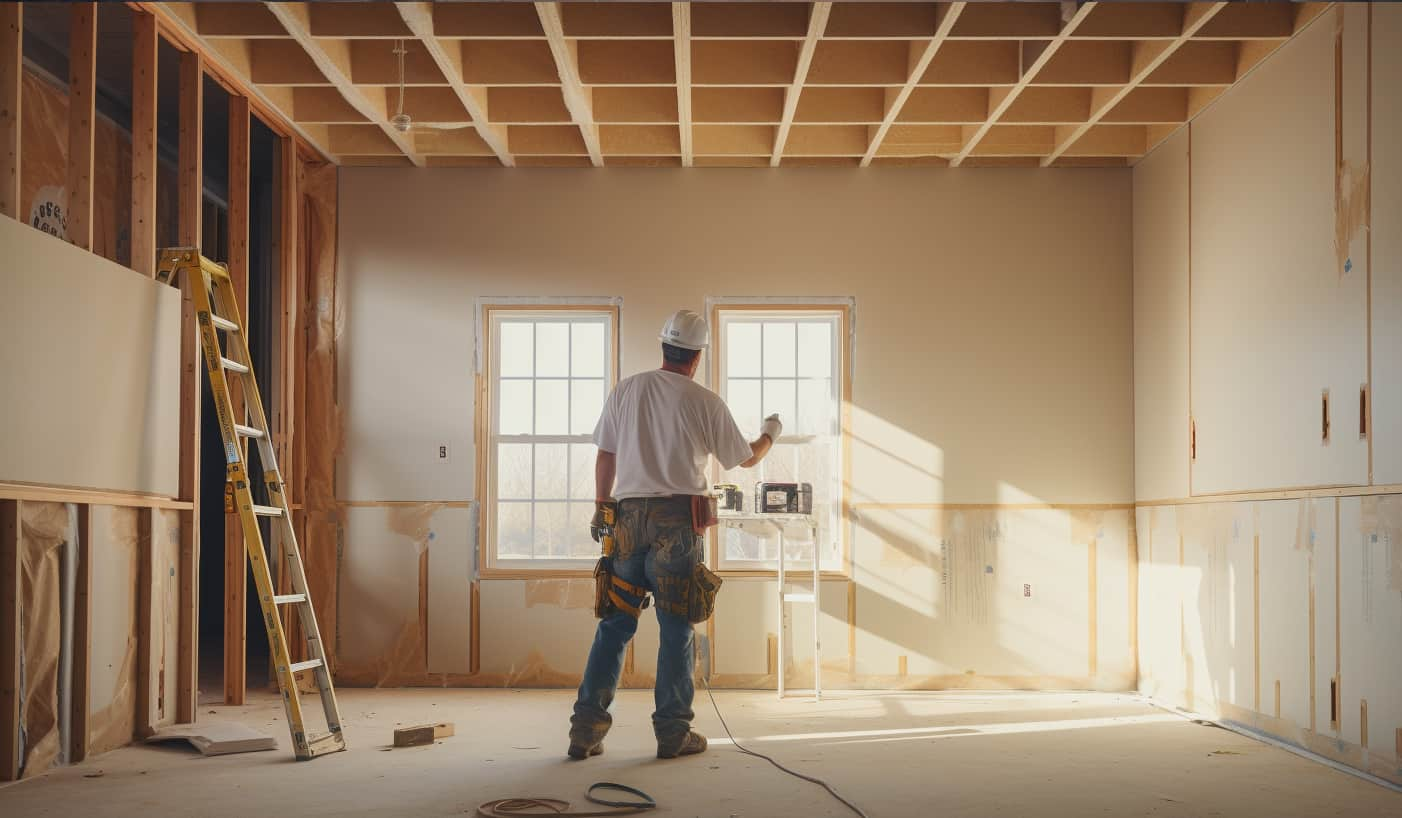
Setting up drywall and aiming for that impeccable finish? It indeed hinges on the tools you wield. Hey there, I’m Carl, a seasoned contractor with countless projects. From small patches to whole-home renovations, I’ve been hands-on with drywall for years.
Through trial and error, I’ve pinpointed the equipment that can elevate your work from amateur to pro-level. If you’re gearing up for a drywall venture, whether it’s your first time or a regular DIYer, this guide is for you. We’ll delve deep into the must-have toolkit that will simplify and perfect your drywall installation. Remember, in construction, the right tools aren’t just an advantage—they’re a game-changer. Ready to elevate your drywall game? Let’s roll up our sleeves and jump in!
Measuring and Marking Tools
When installing drywall, you’ll need several precise measuring and marking tools. Your DIY drywall installation project starts with a reliable tape measure. This tool is essential for measuring the distance between studs and the height and width of the wall. It’s also crucial for marking where cuts need to be made in the drywall.
Another invaluable tool in your toolbox is the drywall T-square. It’s specifically designed for use with full-size drywall sheets, ensuring accurate and straight cuts every time. This tool is handy when working with large pieces of drywall, as it guarantees consistent results.
Locating the studs is a pivotal part of any drywall installation project. You’ll need a dependable stud finder to locate these essential supports. Once found, clearly mark the stud locations on the floor and ceiling, ensuring precision when attaching the drywall.
Cutting and Shaping Instruments
You’ll require various cutting and shaping tools to fit and shape your drywall accurately. These tools are vital for achieving a professional finish, whether working with standard drywall or customized installations. They’ll simplify the process of cutting drywall to the desired size, creating openings for fixtures, and refining the edges for a seamless fit.
Here are the essential tools you’ll need:
- Utility Knife: This is your primary tool for making straight cuts on drywall.
- Jab Saw: Also known as a drywall saw, this tool is ideal for creating openings in drywall.
- Drywall Rasp: This is utilized to smooth rough edges after cutting drywall.
- Multi-tool: An oscillating multi-tool can be employed to cut intricate shapes or make precise cutouts.
- Hand Saw: A basic hand saw is useful for larger cuts and shaping drywall.
These tools are indispensable for any drywall installation project. Without them, achieving a clean and professional finish may prove challenging. Invest in these tools, learn their proper usage, and your drywall installation will be a breeze.
Fastening Tools Essentials
Once you’ve cut and shaped your drywall, you’ll need four essential tools to securely fasten it in place. This is where the appropriate tools for drywall come into play.
The first tool you’ll need is the drywall screwdriver, a professional tool that effortlessly drives screws to the perfect depth every time. This tool ensures that the screws go in straight and are set at the correct depth, preventing any unwanted damage to the drywall’s surface.
Next, you’ll require a drywall installation gun. This tool, similar to a screwdriver, is specifically designed for drywall installation, providing you with precision and ease of use that a standard drill can’t match.
The third essential tool is a cordless drill. While the drywall screwdriver and installation gun are suitable for most jobs, there may be situations where you need more flexibility and power. That’s where a cordless drill comes in handy.
Finally, you’ll need drywall screws. These screws are specially designed to securely hold drywall in place, ensuring that your installation is strong and long-lasting.
With these tools at your disposal, you can achieve a professional drywall installation.
Understanding Joint Compound Tools
After securely fastening your drywall, it’s important to grasp the tools needed for applying joint compound, a crucial step in achieving a smooth and professional finish. These indispensable tools for drywall installation play a vital role in getting the job done correctly.
You’ll require a drywall mud pan to hold your joint compound, ensuring it’s always within easy reach. The mud pan is particularly useful when applying drywall, as it allows for convenient access and keeps your workspace neat.
Working with drywall also necessitates a set of taping knives, which aid in applying and smoothing the compound over seams and screws. Look for a variety of sizes, as different tasks call for different tools.
Here are some essential joint compound tools you should be familiar with:
- Drywall Mud Pan: Holds the joint compound.
- Taping Knife: Utilized for applying and smoothing the compound.
- Joint Knife: Ideal for corners and tight spots.
- Mud Mixer: Blends joint compound to the proper consistency.
- Sanding Pole: Sands down the dried compound for a smooth finish.
Understanding these tools and how they function is crucial for a successful drywall installation. With the right knowledge, you’re well on your way to achieving a professional and smooth finish.
Sanding Tools Breakdown
Now that you have smoothly applied and dried the joint compound, it’s time to explore the essential sanding tools that will help you achieve a flawless drywall installation. Drywall sanding can be a messy process, and managing drywall dust is a major concern. However, the right tools can minimize dust and ensure a clean finish.
The most basic tool you’ll need is a sanding block, perfect for small areas and detailed work. When it comes to larger surfaces, a pole sander is your best option. It enables you to reach high areas and cover more ground efficiently. For both of these tools, mesh sanding sheets are an excellent choice. They’re durable, easy to clean, and reduce clogging.
Intricate areas, such as corners, require a versatile tool like a sanding sponge. Its flexibility allows you to navigate tight spaces and angles with ease.
Lastly, if you want to minimize drywall dust to the maximum extent, consider investing in a drywall vacuum sander. This tool combines sanding and dust collection, making your job easier and creating a virtually dust-free environment.
To sum it up, these sanding tools are crucial for achieving a smooth and professional finish in your drywall installation. By using the right tools, you can elevate your sanding experience and enhance the overall quality of your project.
Lifting and Hanging Tools
When it comes to installing drywall, you’ll find that lifting and hanging tools are indispensable for completing the job efficiently and safely. These tools are specifically designed to assist in positioning and securing drywall boards. With the right tools at your disposal, hanging drywall can be a seamless and trouble-free process.
Here are some essential tools you’ll need for lifting and hanging drywall:
- Drywall Lift: This tool enables you to effortlessly raise large and heavy drywall sheets onto high walls or ceilings.
- Panel Carrier: This handy tool is ideal for transporting large panels, reducing the risk of strain or injury.
- Drywall Stilts: These stilts allow you to access higher areas without the need for ladders, providing mobility while working on drywall.
- Screw Gun Extension: This extension for your screw gun allows you to fasten drywall from a standing position, saving you from unnecessary bending or reaching.
- Drywall Hoist: A hoist can lift and hold a drywall board in place while you secure it.
Finishing and Texture Tools
Moving on to the final stages of your drywall project, let’s explore the essential finishing and texture tools you’ll need to achieve a professional and polished look.
Two indispensable tools for this task are a taping knife and a mud pan. These tools allow you to evenly apply drywall mud over seams and corners.
Next, you’ll require joint tape to cover the applied mud. This crucial taping and finishing process is key to creating a seamless appearance. Additionally, you’ll need sandpaper or a sanding sponge to smooth out the dried mud and eliminate any imperfections.
For a truly professional finish, you may want to consider leveraging texture tools. Texture brushes, texture rollers, or even a texture sprayer can be utilized to create a variety of finishes on your final drywall surface. These tools provide the opportunity to apply distinctive patterns, giving your walls a uniquely customized look.
Repair and Patching Tools
Even if you’ve handled the installation flawlessly, there might come a time when you’ll need to repair or patch your drywall, and that’s where specific tools come into play. Having the right tools at your disposal can make the job of patching and repairing much easier and more efficient.
Here are some of the essential tools you’ll need:
- Drywall Patch: These pre-cut pieces of drywall are available in different sizes to match the hole you’re trying to fix.
- Putty Knives: A 6-inch knife is ideal for applying and smoothing joint compound over the patch.
- Fiberglass Mesh: This self-adhesive tape provides additional strength to the repair area, preventing cracks from forming.
- Joint Compound: This material, also known as ‘mud’, is used to cover the fiberglass mesh and blend the patch with the surrounding wall.
- Sanding Tools: A sanding sponge or block is necessary for final touch-ups, creating a smooth surface ready for painting.
Safety and Cleanup Tools
After mastering the appropriate repair and patching tools, it’s essential to equip yourself with safety and cleanup tools to safeguard yourself and maintain a tidy workspace during the drywall installation. When it concerns drywall work, prioritizing safety is paramount.
To begin, a pair of protective goggles is necessary to shield your eyes from dust and debris. A dust mask will also safeguard your lungs from the minute particles generated during sanding. Consider investing in knee pads, especially if you’re working on lower wall sections, to protect your knees from hard surfaces.
Cleanup is just as vital as safety. Utilize a shop vacuum to efficiently eliminate dust and small debris after completing your drywall work. Additionally, a drop cloth is indispensable to shield your floors and furniture from dust and potential damage.
Handheld tools like a drywall T-square and utility knife are indispensable for precise cuts in your drywall project. Despite their simplicity, these tools are among the best for drywall installation.
Frequently Asked Questions
What Are Some Essential Tips for Maintaining Drywall Tools to Ensure Their Longevity?
To maintain your drywall tools’ longevity, clean them after each use. Don’t leave them in damp places; rust can damage them. Sharpen cutting tools regularly. Store them properly to avoid unnecessary wear and tear.
Are There Any Specific Brands That Are Highly Recommended for Drywall Installation Tools?
Yes, there are specific brands you’d find ideal for drywall installation tools. Marshalltown and Hyde are renowned for quality trowels and knives. For power tools, consider Dewalt or Makita for their reliability and performance.
Are There Any Digital or Tech Tools Available That Can Help in the Process of Drywall Installation?
Sure, you’ve got digital tools like laser levels for precise alignment, moisture meters for drywall dampness detection, and stud finders to locate wall studs. They’ll really streamline your drywall installation process.
What Are Some Environmentally-Friendly Alternatives to Traditional Drywall Installation Tools?
You’re seeking eco-friendly alternatives for traditional drywall tools. Consider tools made from recycled materials or sustainable wood. Also, electric tools with high efficiency can reduce energy use, making your job greener.
How Can Beginners Learn to Use These Drywall Installation Tools Effectively and Safely?
To learn using drywall installation tools effectively and safely, you’ll need hands-on practice. Start with safety gear, read tool manuals, take a beginner’s class, or watch instructional videos. Always follow safety precautions.
Conclusion
Equipping yourself with the right tools is essential for a successful drywall installation. From measuring and marking tools to cutting and shaping instruments, each tool plays a crucial role.
Fastening tools, joint compound tools, and sanding tools are necessary for achieving a seamless finish.
For handling high spots, lifting and hanging tools prove to be invaluable.
And let’s not forget about safety and cleanup tools, which are equally important.
With these tools in your arsenal, you can confidently tackle your DIY drywall project.
In conclusion, having the appropriate tools is pivotal for a successful drywall installation. By utilizing measuring and marking tools, cutting and shaping instruments, fastening tools, joint compound tools, sanding tools, lifting and hanging tools, as well as safety and cleanup tools, you can achieve a seamless finish and complete your project with confidence.