Mastering Home Renovation: Your Guide to Drywall Techniques With Tips
I’ve gained some valuable knowledge about home renovation, and I must say that mastering drywall techniques is crucial.
In this guide, I’ll take you through preparing, measuring, and installing drywall panels.
We’ll discuss taping, mudding, and sanding to achieve a flawless finish.
Additionally, I’ll share expert tips and common mistakes to avoid.
Prepare to transform your space with these effective drywall techniques and helpful suggestions!
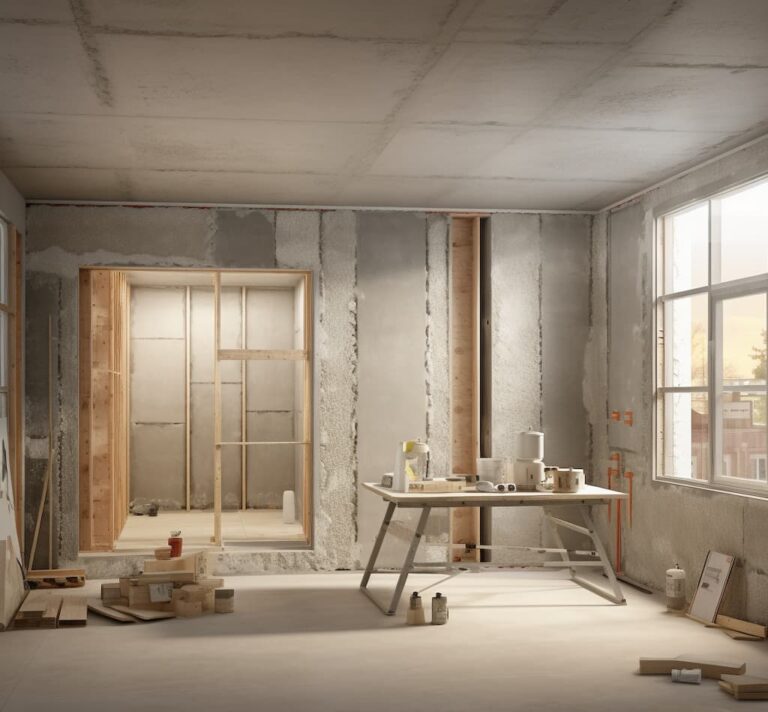
Preparing the Drywall Surface
To achieve a smooth and flawless finish, it’s essential to properly prepare the drywall surface before moving forward. This involves using the appropriate tools, such as a drywall knife and a taping knife, to evenly apply and spread the drywall mud. The drywall mud acts as a joint compound that fills in gaps or imperfections on the surface.
Once the joint compound is applied, it’s important to allow it to dry completely before proceeding. This typically takes around 24 hours, depending on the climate and humidity levels. After the compound has dried, it’s time to sand it using a sanding block or sandpaper. This helps to smooth out any rough edges or bumps, resulting in a seamless finish.
When sanding, being gentle and avoiding applying excessive pressure is crucial. Begin with a coarse grit sandpaper to eliminate high spots or ridges, then switch to a finer grit sandpaper for a smoother finish. Take your time and be thorough; this step is vital in achieving a professional outcome.
Measuring and Cutting Drywall
Now, let’s explore the process of measuring and cutting drywall to ensure a precise fit for your home renovation project. When it comes to mudding and taping, accurate measurements are essential for a smooth and seamless finish.
Start by measuring the area where the drywall sheet will be installed. Use a measuring tape and mark the dimensions on the drywall sheet, considering any obstacles like windows or doors.
Once you have the measurements, it’s time to cut the drywall. Utilize a utility knife to score the drywall along the marked lines. Then, snap the drywall along the scored line, creating a clean break. To smooth out the cut edges, use a rasp or sandpaper to eliminate rough spots.
Remember to trim the edges of the drywall slightly shorter than the measurements to facilitate easier installation and prevent bulging.
With precise measurements and clean cuts, you’ll be prepared for the next step in your drywall work: taping and mudding the seams.
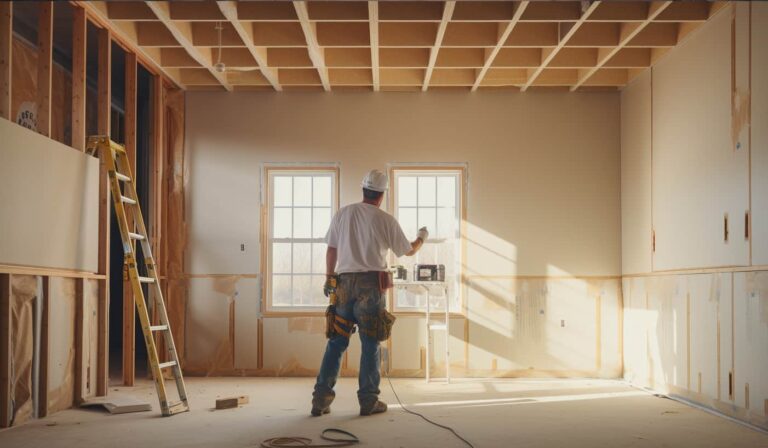
Installing Drywall Panels
I will install the drywall using a step-by-step approach.
To begin, I’ll start by measuring and cutting the drywall according to the dimensions of the wall or ceiling. Once I have the panels ready, I’ll position them against the studs, ensuring a snug fit. To secure the drywall panels in place, I’ll use drywall screws, placing them every 12 inches along the studs.
Next, I’ll apply mud and tape to the seams between the drywall panels. This involves spreading a compound layer over the seams and pressing drywall tape into the compound. I’ll use a taping knife to smooth out any excess compound and ensure a seamless finish.
To reinforce the corners of the drywall, I’ll install a corner bead. This metal or plastic strip will provide extra strength and protection against damage. I’ll secure the corner bead with nails or screws and then apply a compound layer over it.
Once all the joints and corners are covered with compound and tape, I’ll let it dry completely. After that, I’ll sand the surface to create a smooth and even finish. Finally, I’ll apply a finish coat of compound to refine the surface further and prepare it for painting or wallpapering.
Taping and Mudding Joints
When it comes to taping and mudding joints, I follow a simple process.
I start by applying a compound layer over the seams between the drywall panels. Then, I press drywall tape, also known as paper tape, into the compound to reinforce the joints and prevent cracks. To ensure proper coverage, I place the tape along the drywall’s edge, ensuring it extends across the entire joint. I firmly press the tape into the compound using a trowel, ensuring it adheres securely.
Once the tape is in place, I use the trowel to smooth out any excess mud, creating a flat surface. It’s crucial to remove any extra compound to avoid bulges or unevenness. After allowing the initial layer to dry, I apply a second layer of compound, feathering the edges to blend it with the surrounding wall. This technique helps to hide the tape and achieve a seamless finish.
To achieve a smooth and even surface, I sand the dried compound before proceeding with the next steps in the drywall installation process. This step enhances the overall appearance of the wall.
Sanding the Drywall Surface
How can you prepare the drywall surface to achieve a smooth and flawless finish? After taping and mudding the joints, the next step involves sanding the drywall surface. This step is crucial in achieving a professional-looking result.
First, ensure that the thin layer of mud applied during the taping process is completely dry. This will prevent any damage or unevenness during the sanding process.
Next, gently sand the wall using a sanding block or pole with fine-grit sandpaper. It’s important to apply even pressure and use long, smooth strokes to avoid creating gouges or uneven spots. While sanding, ensure that you remove any excess compound or rough patches. The goal is to create a smooth and level surface.
Take time and frequently check the wall to ensure you achieve the desired result. Once the initial sanding is complete, wipe the wall with a damp cloth to remove dust or debris.
Remember, sanding isn’t a one-time process. After applying another coat of mud to fill any remaining gaps or imperfections, you must sand the wall again. This second round of sanding will ensure that the surface is perfectly smooth and ready for priming and painting.
Repairing Cracks and Holes
After sanding the drywall surface to achieve a smooth and level finish, the next step in mastering home renovation is addressing cracks and holes.
These imperfections can arise from various factors, such as foundation settling, temperature fluctuations, or accidental damage.
To rectify cracks and holes in the drywall, begin by eliminating any loose or damaged material surrounding the affected area.
For minor cracks, use a putty knife to scrape away any loose drywall fragments and then apply a layer of paper drywall tape. Press the tape firmly into position, ensuring it adequately covers the crack.
Next, apply a thin layer of joint compound over the tape, feathering the edges and seamlessly blending it with the surrounding wall.
For larger holes caused by fasteners like nails or screws, employ a utility knife to remove any damaged or loose drywall around the hole.
Subsequently, cut a piece of drywall slightly larger than the hole and fit it snugly into place. Secure it with drywall screws or nails, ensuring it aligns flush with the surrounding wall.
Apply joint compound over the seams and use a putty knife to smooth it out.
Once the joint compound has dried, lightly sand it to achieve a textured finish that matches the rest of the wall.
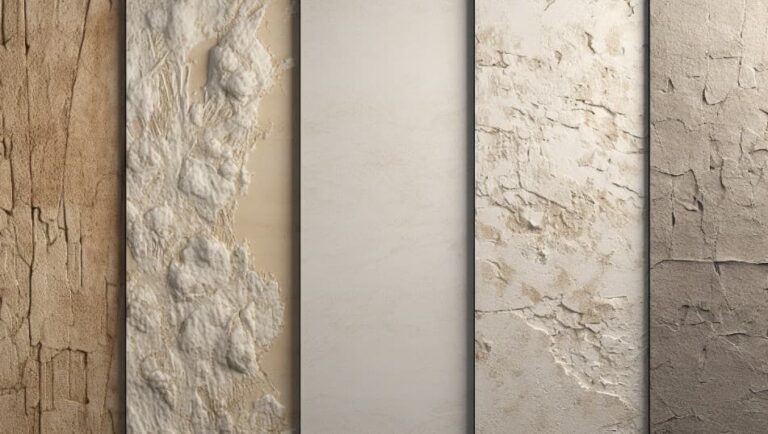
Applying Texture to the Drywall
Now that we’ve addressed the cracks and holes in the drywall, it’s time to add texture to the surface. As someone who works with drywall, I’ve learned a few techniques for achieving a textured finish that brings depth and visual interest to the walls.
Before adding texture, make sure the mudded joints and corners are smooth and free of any imperfections. It’s also essential to prime the drywall to ensure proper adhesion.
Different methods for applying texture to drywall include using a brush, roller or spray gun. One popular technique is called knockdown, where the joint compound is applied using a trowel or sprayer and then flattened with a knockdown knife to create a subtle texture. Another option is the skip trowel technique, which involves applying joint compound in a random pattern and then using a trowel to create a textured look.
When applying texture, working in small sections and maintaining a consistent pattern throughout the entire wall is crucial. Take your time and practice on a scrap piece of drywall before tackling the entire room.
Remember to clean your tools promptly after each use to prevent the joint compound from drying and hardening.
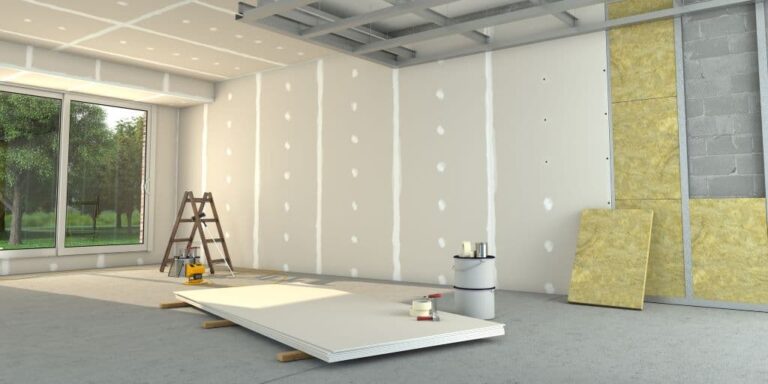
Priming the Drywall
I always kick off the drywall renovation process by applying a coat of primer to ensure proper adhesion and a smooth finish. Priming the drywall is a crucial step before finishing a wall. It helps seal the surface, prevents excessive paint absorption by the drywall, and promotes even distribution of color.
To start, I ensure the drywall is clean and free of dust and debris. Then, using a roller or brush, I apply a thin and even layer of primer over the entire surface, paying particular attention to the seams. I use my hand to smooth out any uneven areas or drips.
Once the initial coat of primer has dried, I inspect the wall for any imperfections or areas that require additional attention. If necessary, I apply another coat of primer, guaranteeing complete coverage.
After the final coat of primer has dried, the drywall is ready for paint. The primed surface provides a solid foundation for the paint to adhere to, resulting in a professional and long-lasting finish.
Choosing the Right Paint for Drywall
The appropriate paint for the project is essential to ensure a successful drywall renovation. The right paint can enhance the overall look of your walls and ceilings while providing durability and protection.
Here are three key factors to consider when choosing paint for your drywall:
- Type of Paint: Opt for an all-purpose paint specifically designed for drywall. This type of paint provides excellent coverage and is easy to apply. Look for paint that’s labeled as suitable for gypsum surfaces, as this will ensure a smooth and even finish.
- Finish: Consider the desired finish for your walls and ceilings. Standard options include flat, eggshell, satin, and semi-gloss. Flat and eggshell finishes are ideal for hiding imperfections, while satin and semi-gloss finishes offer more durability and are easier to clean.
- Color Selection: Choose a color that complements your overall design scheme and style. Remember that lighter colors tend to make a space feel larger and brighter, while darker colors can add depth and warmth. Don’t be afraid to test samples on your drywall before deciding.
Installing Baseboards and Trims
When installing baseboards and trims, it’s crucial to ensure a precise and seamless fit for a polished and professional finish. Before you begin the installation process, it’s essential to prepare the surface properly.
Start by examining the drywall and making any necessary repairs using a joint compound. Smooth out any imperfections and sand the surface to achieve a smooth and even finish.
Next, gather all the necessary tools and materials for the installation. You’ll need a measuring tape, a miter saw, a coping saw, nails, a hammer, and a level. Additionally, select the appropriate type of baseboards and trims that complement the overall style of your home.
To commence the installation, measure the length of the wall and cut the baseboards and trims accordingly using a miter saw. Use a coping saw to create precise corner cuts for a seamless joint. Once the pieces are cut, apply a thin adhesive layer on the back of the baseboards or trims and firmly press them against the wall.
Secure the baseboards and trims in place using nails and a hammer. Ensure they’re level and flush against the wall. Repeat this process for each section until you have completed the entire room.
Common Mistakes to Avoid
When installing baseboards and trims, it’s crucial to be aware of mistakes that can be easily avoided. Here are three mistakes to watch out for:
- Neglecting to use a drywall lift: Attempting to hold and install drywall sheets by hand can result in uneven and crooked installations. Utilizing a drywall lift ensures precise positioning and a seamless finish.
- Failing to eliminate drywall dust: Before applying paint or primer, it’s essential to thoroughly clean the drywall surface to remove any dust or debris. Neglecting this step can lead to a rough and unprofessional appearance.
- Applying a thick final coat: Many people mistakenly apply joint compound too thick when applying the final coat. This can cause cracking and an uneven surface. It’s best to apply a thin layer of joint compound and feather the edges for a flawless finish.
Pro Tips for a Flawless Finish
Now, let’s explore some expert tips that will assist me in achieving a flawless finish during my home renovation project.
When aiming for a smooth and seamless finish on drywall, applying a thin layer of joint compound is advisable. This will effectively fill in any imperfections and create a sleek surface for painting.
Additionally, opting for a ready-to-use joint compound is recommended as it saves both time and effort.
After applying the compound, allowing it to dry overnight is crucial. This will ensure proper setting and make the sanding process easier.
Once the compound is dry, I can sand the surface to attain a perfectly smooth finish. It’s important to use fine-grit sandpaper and employ circular motions to avoid noticeable grooves.
Frequently Asked Questions
How Long Does It Take for Drywall Mud to Dry?
It usually takes about 24 hours for drywall mud to dry. However, factors like humidity and temperature can affect drying time. It’s important to allow enough time to fully dry before moving on to the next step.
Can I Reuse Old Drywall Panels for a Renovation Project?
I wouldn’t recommend reusing old drywall panels for a renovation project. They may be damaged or have mold growth, which can affect the quality of your project. It’s best to use new drywall for a better outcome.
What Should I Do if There Are Gaps Between the Drywall Panels After Installation?
If there are gaps between the drywall panels after installation, I would fill them with joint compound and then sand it smoothly. It’s important to ensure a seamless finish for a professional-looking result.
Is It Necessary to Prime the Drywall Before Painting?
Yes, it is necessary to prime the drywall before painting. Priming helps to seal the surface, improve paint adhesion, and create a smooth and uniform finish. It also helps to prevent the paint from soaking into the drywall.
How Can I Repair a Large Hole in the Drywall?
To repair a large hole in drywall, start by cutting out the damaged area in a square or rectangular shape. Then, attach a new piece of drywall using screws and joint compound. Finally, sand and paint to match the surrounding wall.
Conclusion
Mastering the art of drywall techniques is crucial for a successful home renovation project. Let’s explore the steps involved in achieving a flawless finish.
To begin, it’s essential to properly prepare the surface before moving forward. This entails ensuring it’s clean and free from any debris or imperfections.
Next, precise measurement and cutting of the drywall are paramount. This task requires careful attention to detail and accuracy to ensure a seamless installation.
Once the drywall panels are ready, it’s time to begin the installation process. This involves securely fastening the panels to the wall or ceiling, using appropriate tools and techniques.
To achieve a smooth and polished look, taping and mudding the joints is necessary. This step helps to create a seamless transition between the drywall panels, ensuring a visually appealing result.
After the taping and mudding process, sanding the surface is essential to achieve a flawless finish. This helps to smooth out any imperfections and create a uniform surface for painting.
Choosing the right paint is equally important in enhancing the overall appearance of the drywall. It’s recommended to select high-quality paint that complements the style and design of the space.
To add finishing touches, installing baseboards and trims can elevate the room’s overall look. This step provides a polished and cohesive finish to the drywall.
It is crucial to avoid common mistakes during the drywall process. You can ensure a professional and impressive result by following these pro tips and techniques.
In conclusion, mastering drywall techniques is essential for achieving a flawless finish in your home renovation project. By following the steps mentioned above, you can unlock the potential of your space and create a visually appealing environment.