How to Install Drywall Correctly
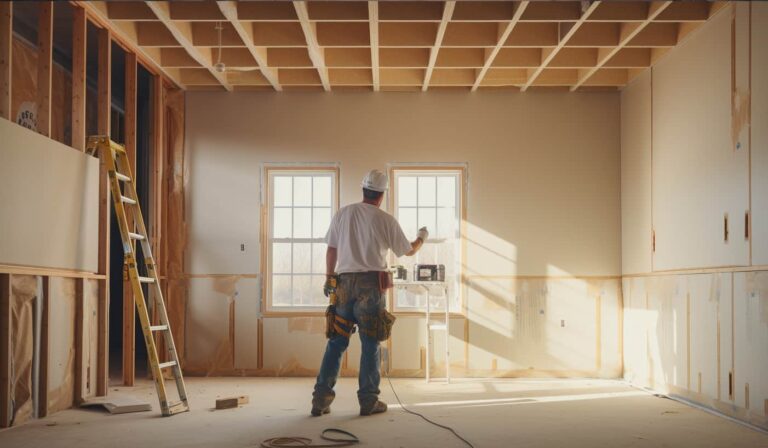
Ready to transform those framing studs into a sleek, finished wall? I’m going to show you how to install drywall like a pro. Whether you’re a DIY rookie or a seasoned renovator, mastering this skill is a game-changer for any home project. We’ll start with the basics – choosing the right materials and tools – because, in drywall installation, preparation is half the battle. From there, I’ll guide you step-by-step through the entire process: measuring, cutting, hanging, taping, and finishing. Along the way, I’ll share those little tricks of the trade that can turn a good job into a great one. So, grab your tools, and let’s get started – it’s time to bring those walls to life!
Measuring and Marking the Wall
To start, accurately measure and mark the wall using a tape measure and a pencil. This initial step is essential to ensure a smooth drywall installation.
Begin by locating the studs on the wall, which will provide the necessary support for the drywall. You can use a stud finder or gently tap the wall to identify the solid areas.
Once the studs are identified, use the tape measure to determine the height and width of the wall. Use a pencil to mark these measurements on the drywall, leaving space for any windows or doors.
Additionally, mark the position of the studs on the drywall to serve as a guide when attaching it to the wall. It’s important to align the drywall properly with the studs for a secure and sturdy installation.
Take your time during this process, as precise measurements and markings are crucial for achieving a professional-looking finish.
After measuring and marking the wall, you’re now ready to proceed with the next step of installing the drywall.
Cutting and Fitting the Drywall Sheets
You’ll need a utility knife, a straight edge, and a drywall saw to cut and fit the drywall sheets.
Before you start cutting, make sure to measure the wall accurately. Start by measuring the height and width of the area where you’ll install the drywall. Once you have the measurements, transfer them onto the drywall sheet using a pencil and a straight edge.
To cut the drywall, use a utility knife to score the paper surface along the pencil line. Apply firm pressure and make multiple passes until you have cut through the paper. Then, snap the drywall along the scored line by gently bending it away from the cut. To complete the cut, use the utility knife to trim any remaining paper or gypsum.
When fitting the drywall sheets, begin with the top sheet and work your way down. Place the sheet against the wall, ensuring it’s level and flush with the adjacent sheets. Use a drywall saw to create openings for outlets, switches, or windows. Remember to leave a small gap between the sheets to allow for expansion.
Repeat the process for the remaining sheets, ensuring each fits snugly against the previous sheet. Once you have installed all the drywall sheets, you can proceed with the next steps in the installation process.
Securing the Drywall to the Wall
Securing the Drywall to the WallOnce you have cut and fitted the drywall sheets, it’s time to anchor them to the wall. Follow these steps to ensure a strong and secure installation:
- Prepare the drywall panel: Before fastening the drywall to the wall, ensure it’s clean and debris-free. Check for any imperfections or damage that may affect its stability. Additionally, measure and mark the location of electrical outlets or switches on the drywall to avoid any mistakes during installation.
- Choose the appropriate screws: Select the right screws for attaching the drywall to the wall. Drywall screws are specifically designed for this purpose and have a coarse thread that provides better grip. Ensure that the screws are long enough to penetrate the drywall and securely fasten it to the wall.
- Secure the drywall: Starting at one corner of the wall, lift the drywall panel and position it against the wall. Begin screwing the drywall to the wall by placing screws every 12 inches along the studs. Ensure that the screws are slightly countersunk into the drywall but not so deep that they break the paper surface. Repeat this process for each drywall panel, ensuring a tight and secure fit.
Taping and Mudding the Seams
To achieve a seamless and polished result, it’s important to tape and mud the drywall panels’ seams properly. This step is crucial in the installation process as it creates a smooth and even surface for painting or wallpapering.
To begin, gather drywall tape and joint compound, also known as mud. Drywall tape is a self-adhesive mesh that reinforces the seams between the panels. Start by applying a thin layer of joint compound along the seam using a taping knife. Place the tape over the compound and firmly press it into position. Using the taping knife, smooth out any air bubbles or creases in the tape.
Next, apply a second layer of joint compound over the tape, extending it a few inches on both sides. Use a wider knife to feather the edges of the compound, blending it seamlessly with the surrounding drywall. Allow the compound to dry completely, typically within 24 hours.
Once the compound is dry, use a sanding block or sandpaper to smooth any rough edges or imperfections. Remember to wear a dust mask to protect yourself from fine particles. After sanding, wipe down the walls with a damp cloth to remove dust.
Sanding and Finishing the Drywall Surface
Now, it’s time to sand and finish the drywall surface to achieve a smooth and polished result. Follow these steps to ensure you complete this stage correctly:
- Sanding:
- Use coarse-grit sandpaper or sanding block to smooth out any elevated areas, ridges, or imperfections on the drywall surface.
- Move the sandpaper in a circular motion or back and forth, applying consistent pressure. Be cautious not to exert excessive force to avoid damaging the drywall.
- Once you have eliminated the rough spots, switch to a finer-grit sandpaper to create a smoother finish. Sand in the same direction as the drywall seams to blend them seamlessly.
- Finishing:
- After sanding, wipe the drywall surface with a damp cloth or sponge to eliminate dust or debris.
- Apply a thin layer of joint compound or drywall mud over the entire surface using a trowel or putty knife. Smooth it out evenly, feathering the edges to merge with the surrounding area.
- Allow the joint compound to dry completely before applying subsequent coats. Lightly sand between each coat to achieve a flawless finish.
Frequently Asked Questions
What Type of Drywall Should I Use for a Bathroom Installation?
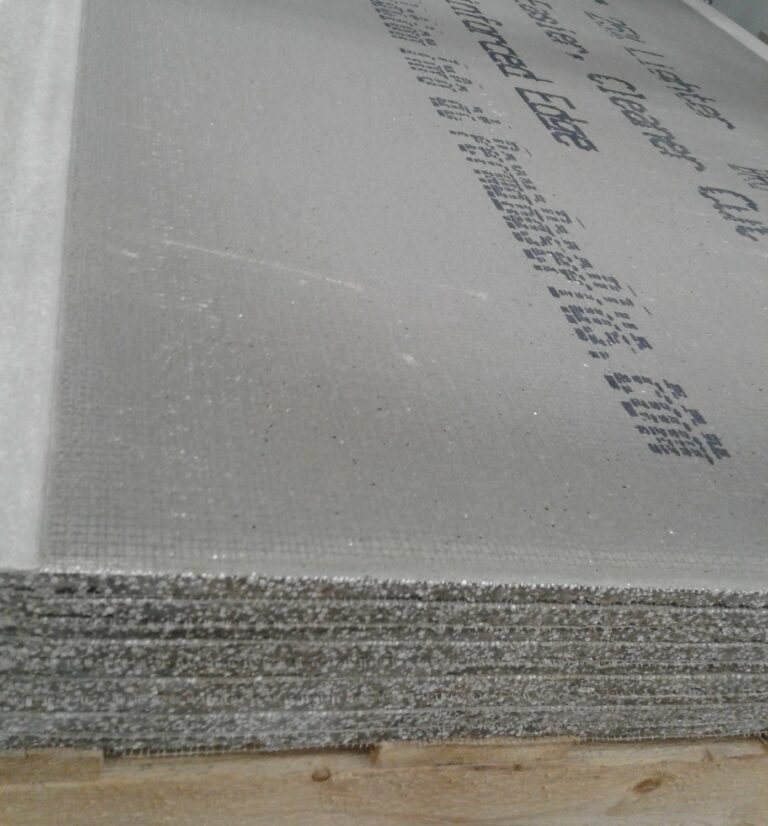
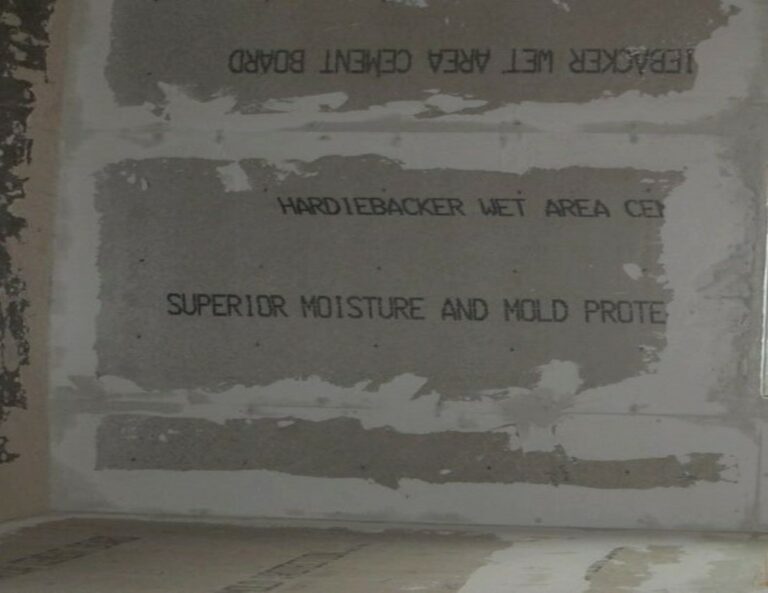
When it comes to installing a bathroom, it is crucial to select the right type of drywall. One option that you should consider is moisture-resistant drywall. This specialized drywall is specifically designed to withstand the high levels of humidity commonly found in bathrooms. By using moisture-resistant drywall, you can effectively prevent the growth of mold and mildew. It is essential to follow proper installation techniques to ensure optimal results.
Can I Install Drywall Over an Existing Textured Wall?
Yes, it is possible to install drywall over an existing textured wall. Begin by removing any loose texture and carefully sanding the surface. Applying a coat of primer before installing the new drywall will enhance adhesion.
How Long Does It Take for Drywall Mud to Dry Before I Can Sand It?
Before you can sand drywall mud, it requires sufficient time to completely dry. This drying process usually takes approximately 24 hours, but it can vary depending on factors such as humidity levels and the thickness of the mud layer.
What Are Some Common Mistakes to Avoid When Taping and Mudding the Seams?
When taping and mudding the seams, there are some common mistakes that you should avoid. One of these is not using an adequate amount of joint compound. Another mistake is applying excessive pressure when smoothing the compound. Additionally, it is crucial to allow sufficient drying time between coats. By avoiding these errors, you can achieve better results in your taping and mudding projects.
Is It Necessary to Prime the Drywall Before Applying Paint?
Yes, it is essential to prime the drywall before applying paint. Priming serves to seal the drywall, enhance paint adhesion, and create a consistent surface. Skipping this step may result in an unprofessional finish.
Conclusion
Installing drywall correctly is a crucial step in any home improvement project.
By carefully measuring and marking the wall, cutting and fitting the drywall sheets, and securing them to the wall, you can ensure a smooth and professional-looking result.
Taping and mudding the seams is another important step in the process. This involves applying joint tape over the seams and then applying multiple layers of joint compound to create a seamless finish.
Once the joint compound has dried, it’s time to sand and finish the surface. Sanding helps to smooth out any imperfections and create a uniform surface for painting or wallpapering.
With a little practice and attention to detail, anyone can master the art of drywall installation and achieve outstanding results for their home.
So get ready to roll up your sleeves and transform your walls!